Introduction TFS 2010
Team Foundation Server or TFS is now well know tool for Application Lifecycle management. It almost support everything which you need during your application development process. starting from requirement gathering documentation to deployment. Bug tracking, source control, testing, build management etc. during my couple of assignments and client meets many people asked a question Why TFS and why not Visual SourceSafe or any other open source tool? this question is really difficult to answer as everyone carry there own features and drawback. But many time i also thought what about small organizations, or small teams , do they really need all TFS features and if not then why they should invest so much money to deploy TFS ? as TFS deployment was not at all easy job. and it required huge investment also. if this is case then what about a person who want to use Source control on his personal machine ? he can not install TFS on his machine as TFS only support Server OS and not any client OS. But now we have a good news for all those people who want to use TFS just for source control and on their own machine, and for small Teams or small organizations too…
To install Team Foundation Server (TFS) 2010 Beta 2 on Windows 7:
1. Download the TFS 2010 Beta 2 ISO image from here. You can burn it to a DVD, mount it to a virtual drive using your favorite ISO management software or just extract the contents to your hard disk using a common tool like Winzip.
2. Download the latest TFS 2010 Beta 2 Installation Guide from here (Recommended for future reference).
3. Start the installation using setup.exe which you will find in the TFS-x64 and TFS-x86 folder in the root of your installation media. Choose a folder depending on your computer architecture.
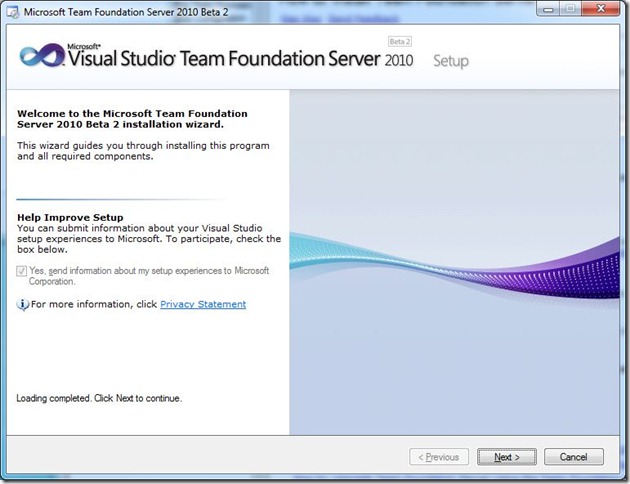
4. In the Welcome screen click Next.
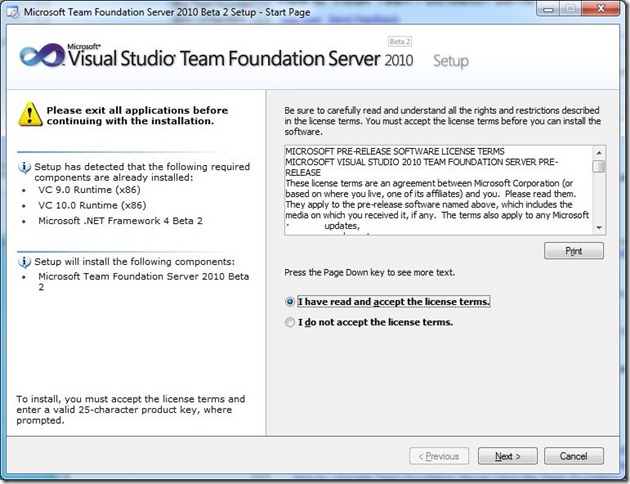
5. In the license terms screen click Next.
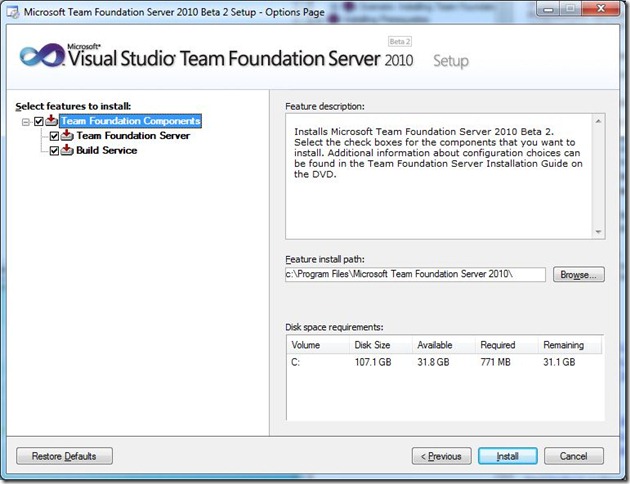
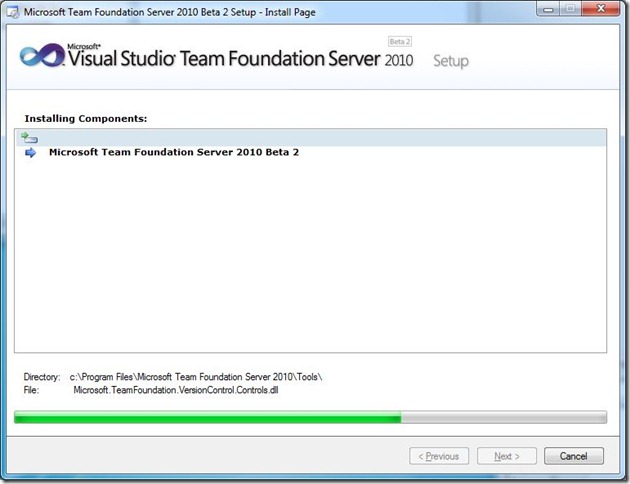
6. In the feature selection screen select the features you want to install and the install location. Then click Install and wait for the installation to complete.
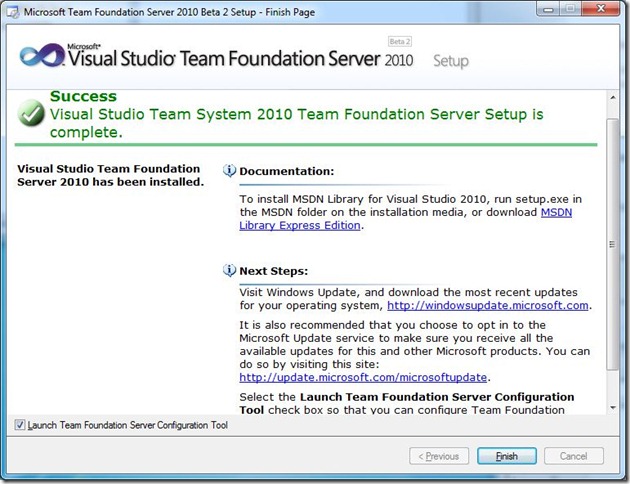
7. In the final installation screen make sure the Launch Team Foundation Server Configuration Tool checkbox is checked and then click Finish.
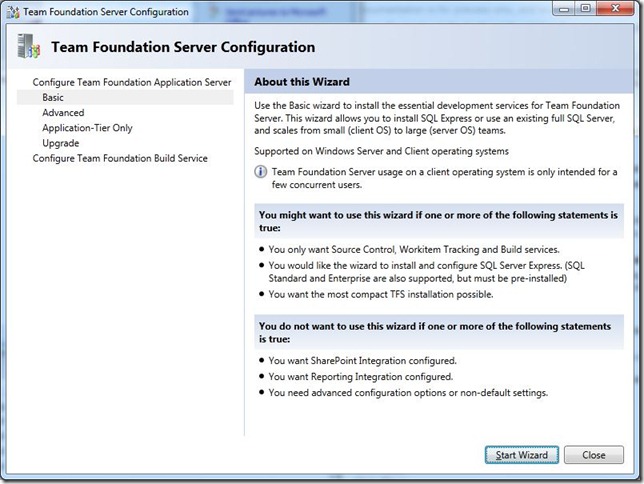
8. The Team Foundation Server Configuration Wizard will start now. Select Basic in the left panel of the wizard start screen and click Start Wizard.
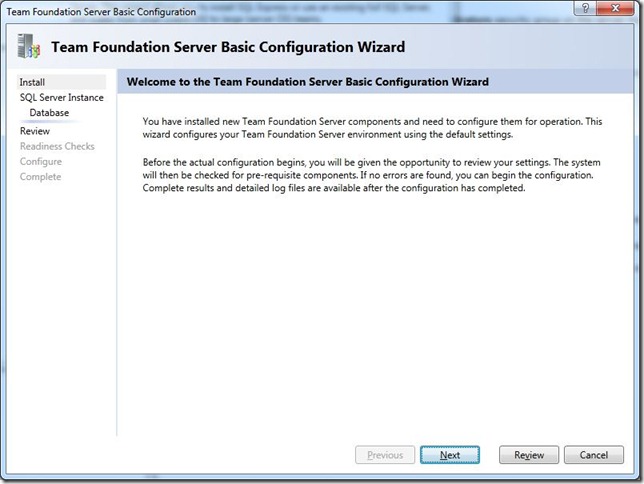
9. In the TFS Basic Configuration Wizard start screen click Next.
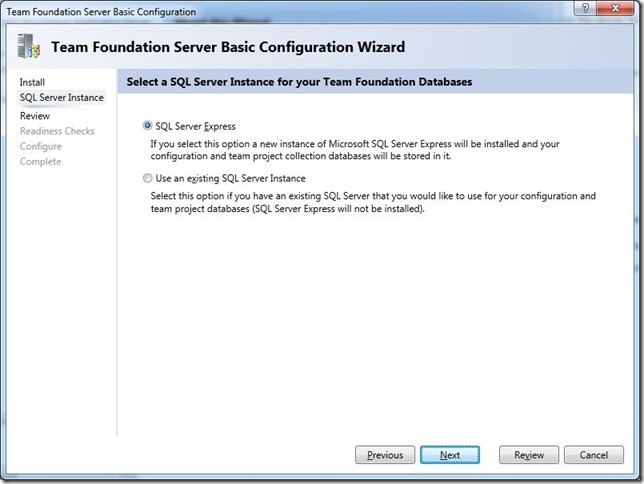
10. In the SQL Server selection screen select SQL Server Express if you don’t have any SQL Server instance installed on your machine. Otherwise that option will be disabled and you can choose your SQL Server instance. Then click Next.
11.In the Configuration Settings Summary screen click Next.
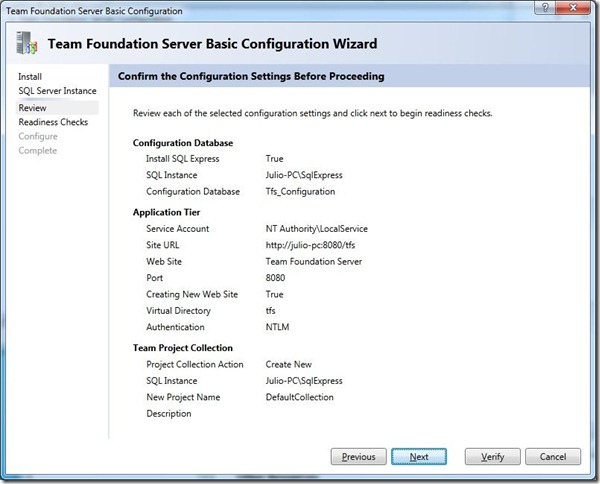
12. In the Readiness Checks screen wait until your proposed configuration passes all validations and then click Configure.
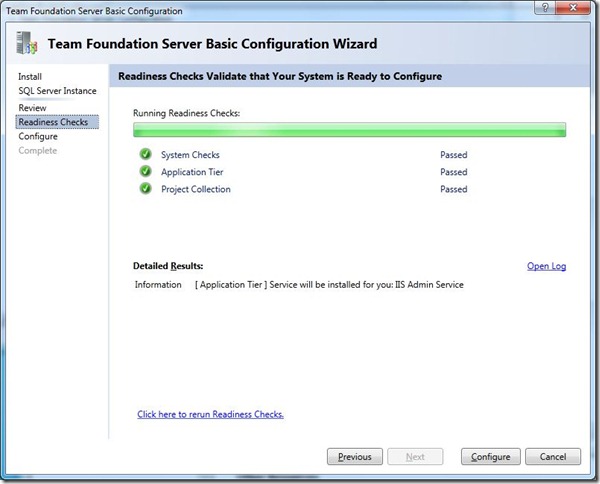
13. Wait until the wizard configures all required stuff and click Next.
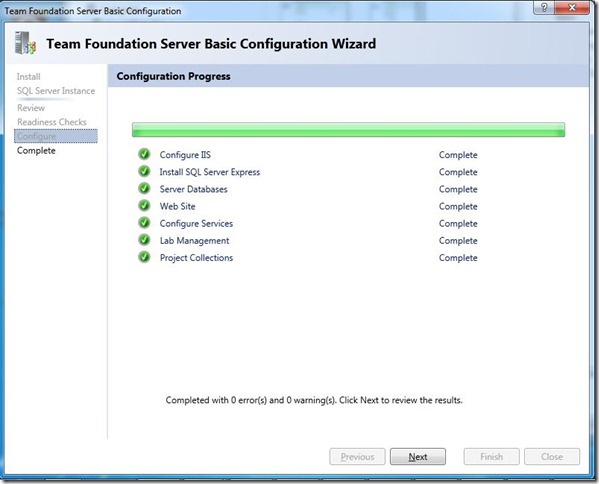
14. Your TFS 2010 Beta 2 is now installed and configured. Click Close in the final screen to finish the configuration.
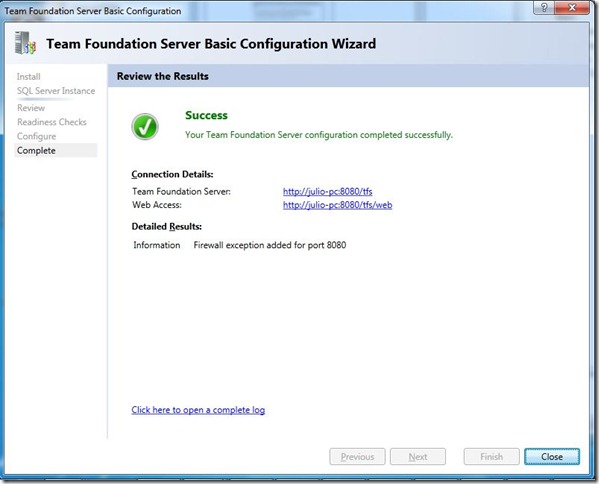
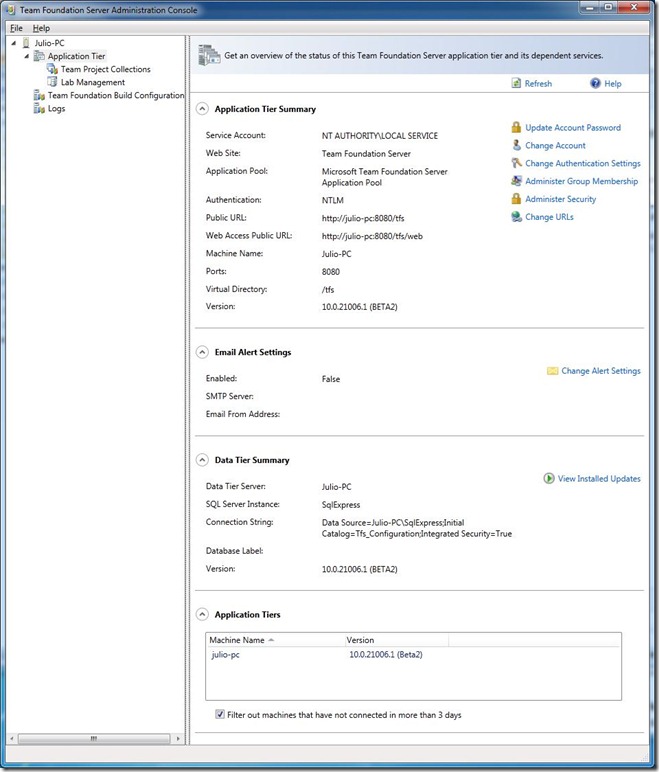
15. You can always check the details on your TFS configuration by going to the new Team Foundation Server Administration Console that you will find in Start Menu –> Microsoft Team Foundation Server 2010 Beta 2.
Team Foundation Server or TFS is now well know tool for Application Lifecycle management. It almost support everything which you need during your application development process. starting from requirement gathering documentation to deployment. Bug tracking, source control, testing, build management etc. during my couple of assignments and client meets many people asked a question Why TFS and why not Visual SourceSafe or any other open source tool? this question is really difficult to answer as everyone carry there own features and drawback. But many time i also thought what about small organizations, or small teams , do they really need all TFS features and if not then why they should invest so much money to deploy TFS ? as TFS deployment was not at all easy job. and it required huge investment also. if this is case then what about a person who want to use Source control on his personal machine ? he can not install TFS on his machine as TFS only support Server OS and not any client OS. But now we have a good news for all those people who want to use TFS just for source control and on their own machine, and for small Teams or small organizations too…
To install Team Foundation Server (TFS) 2010 Beta 2 on Windows 7:
1. Download the TFS 2010 Beta 2 ISO image from here. You can burn it to a DVD, mount it to a virtual drive using your favorite ISO management software or just extract the contents to your hard disk using a common tool like Winzip.
2. Download the latest TFS 2010 Beta 2 Installation Guide from here (Recommended for future reference).
3. Start the installation using setup.exe which you will find in the TFS-x64 and TFS-x86 folder in the root of your installation media. Choose a folder depending on your computer architecture.
4. In the Welcome screen click Next.

5. In the license terms screen click Next.

6. In the feature selection screen select the features you want to install and the install location. Then click Install and wait for the installation to complete.


7. In the final installation screen make sure the Launch Team Foundation Server Configuration Tool checkbox is checked and then click Finish.

8. The Team Foundation Server Configuration Wizard will start now. Select Basic in the left panel of the wizard start screen and click Start Wizard.

9. In the TFS Basic Configuration Wizard start screen click Next.

10. In the SQL Server selection screen select SQL Server Express if you don’t have any SQL Server instance installed on your machine. Otherwise that option will be disabled and you can choose your SQL Server instance. Then click Next.

11.In the Configuration Settings Summary screen click Next.

12. In the Readiness Checks screen wait until your proposed configuration passes all validations and then click Configure.

13. Wait until the wizard configures all required stuff and click Next.

14. Your TFS 2010 Beta 2 is now installed and configured. Click Close in the final screen to finish the configuration.

15. You can always check the details on your TFS configuration by going to the new Team Foundation Server Administration Console that you will find in Start Menu –> Microsoft Team Foundation Server 2010 Beta 2.


thank you
ReplyDelete